One of the great benefits of decorating in the fall is that we have such rich colors to work with and so many lovely pumpkins and gourds to use! This project checks ALL the boxes and is such a gorgeous centerpiece for the table, or stunner for your porch display.
The best thing of all is that while this may look like we’re using the pumpkin as a vase or container, we’re actually NOT cutting into the pumpkin at all. See why we don’t need to and you’ll be as hooked as we are.
We also share how to keep your harvest arrangement looking beautiful, and — get this — how you can plant it so you can continue enjoying your plants!
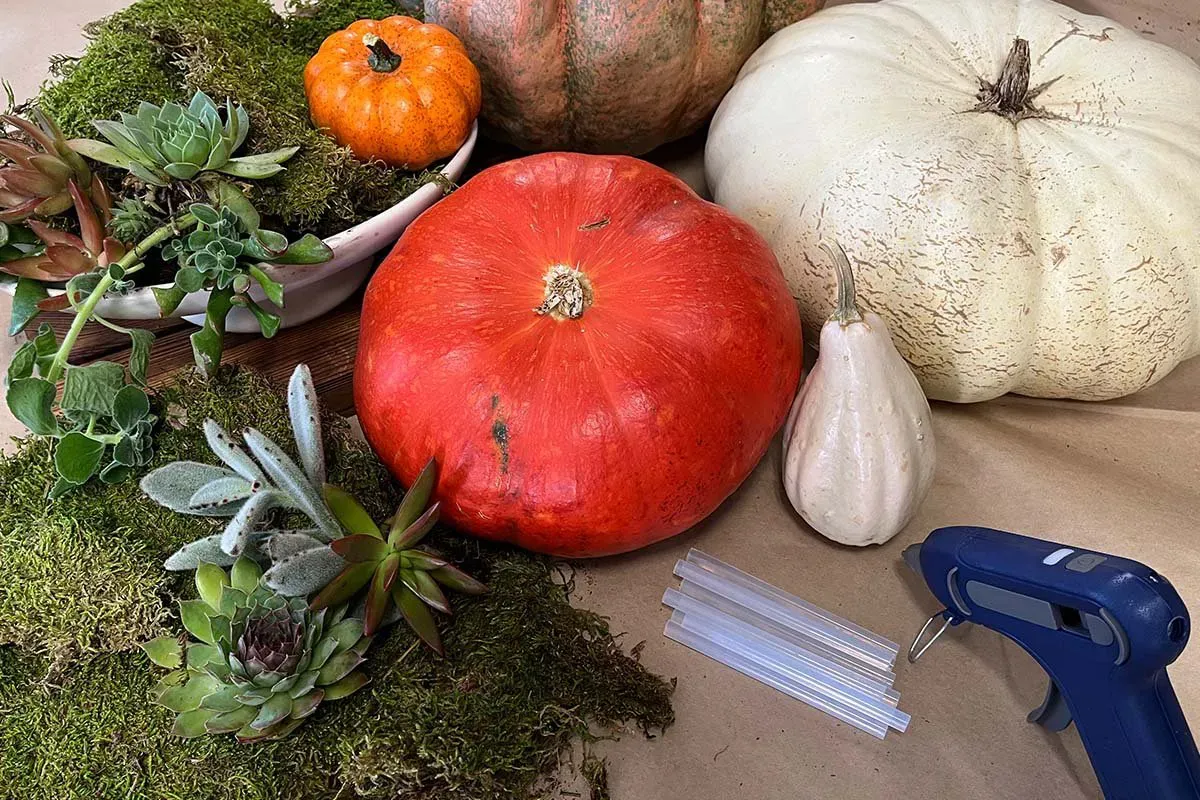
Before you get started, have these supplies ready:
- A pumpkin or two or more
- Spray adhesive
- Glue gun with glue sticks
- Sheet moss
- Succulent cuttings
- Gloves
- Butcher paper or newspaper
Step one: Cut your succulents 24 hours ahead of time
This is important and should be done 24 hours before you want to put your arrangement together.
- With your pruning shears, make a swift and even cut through a stem of your succulent to get a cutting.
- Ensure that the cutting has about one inch of stem exposed; this may require removing the lower leaves of the cutting.
- Set each cutting aside in a dry location for 24 hours to let the “injured” stem of the cutting callous over.
- After 24 hours, the stems of your cuttings should be healed and ready for you to move on to step two.
Step two: Prep your workspace
- You’ll want to put down some butcher paper or newspaper to protect your work surface.
- And since you’ll be using spray adhesive, be sure your space is well ventilated (open a door or window) OR do your spraying outdoors (it can get messy).
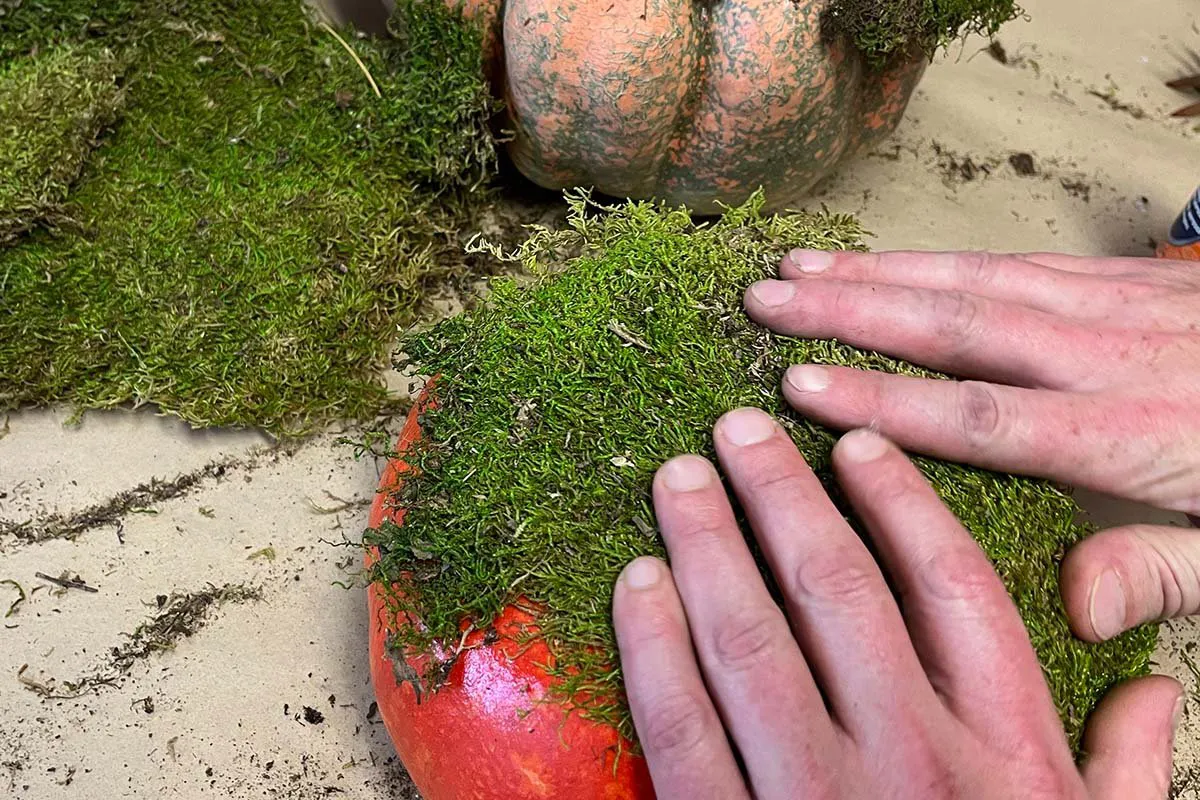
Step three: Adhere your moss
- In small sections, spray your moss with an even layer of spray adhesive.
- Quickly place each section onto the top of your pumpkin, pressing down firmly for a few seconds, to ensure that the moss sticks. Add more if you don’t think the moss is thick enough.
- If you’re making more than one arrangement, repeat the process with all of your pumpkins.
- Pro tip: Decide if you want to keep your pumpkin stem or not. If you think it’s twisty and cool and interesting, and will add to your arrangement, keep it!
Step four: Attach your succulent cuttings
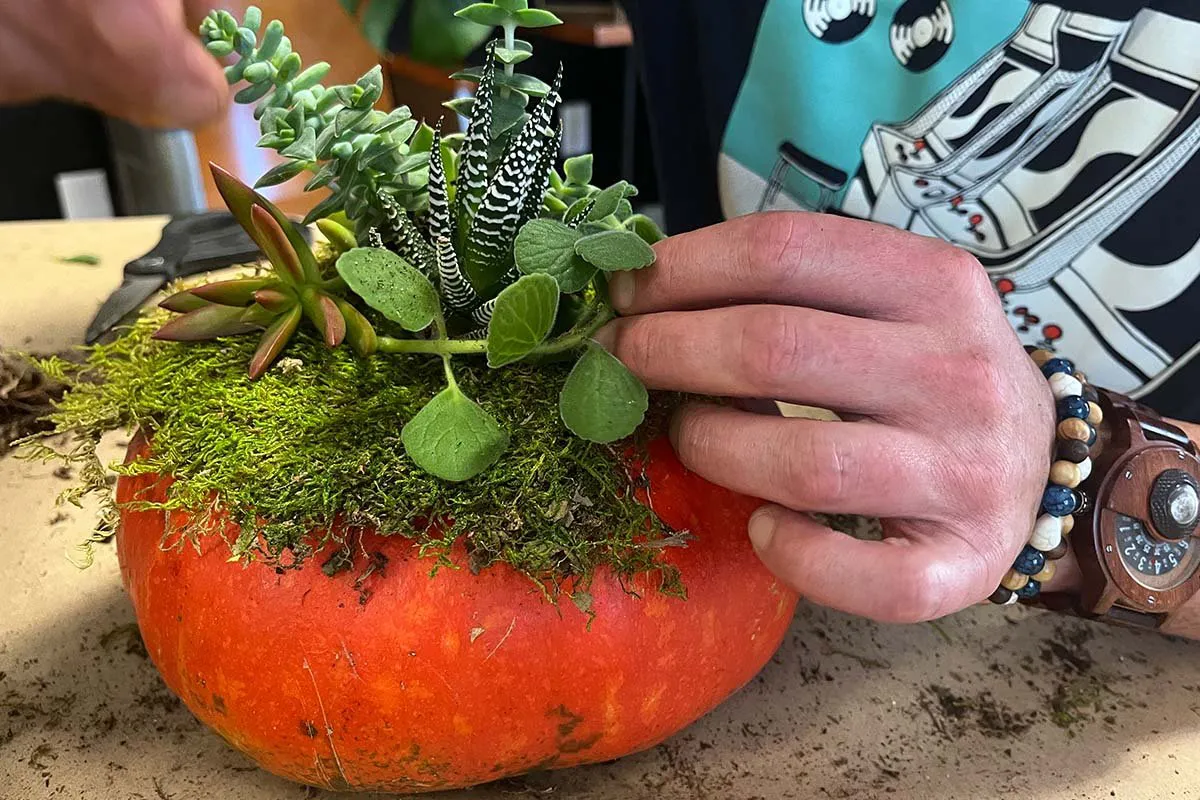
- Once your pumpkin tops are covered with a nice, thick layer of moss, warm up your glue gun, and gather a variety of your succulent cuttings.
- One-by-one, glue the calloused stem ends of your succulent cuttings into the moss. Make sure you hold each piece in place for a few seconds so that it properly adheres.
- Don’t be afraid to use succulent cuttings that are different colors, shapes, sizes and textures. They only add more interest and charm. Tuck pieces in as you go, making the top of the pumpkin full and vibrant!
Step five: Enjoy your harvest arrangement, with proper care, for months!
- To maintain your pumpkin succulent arrangement, wait 24 hours after the initial gluing, then mist it daily with clean water.
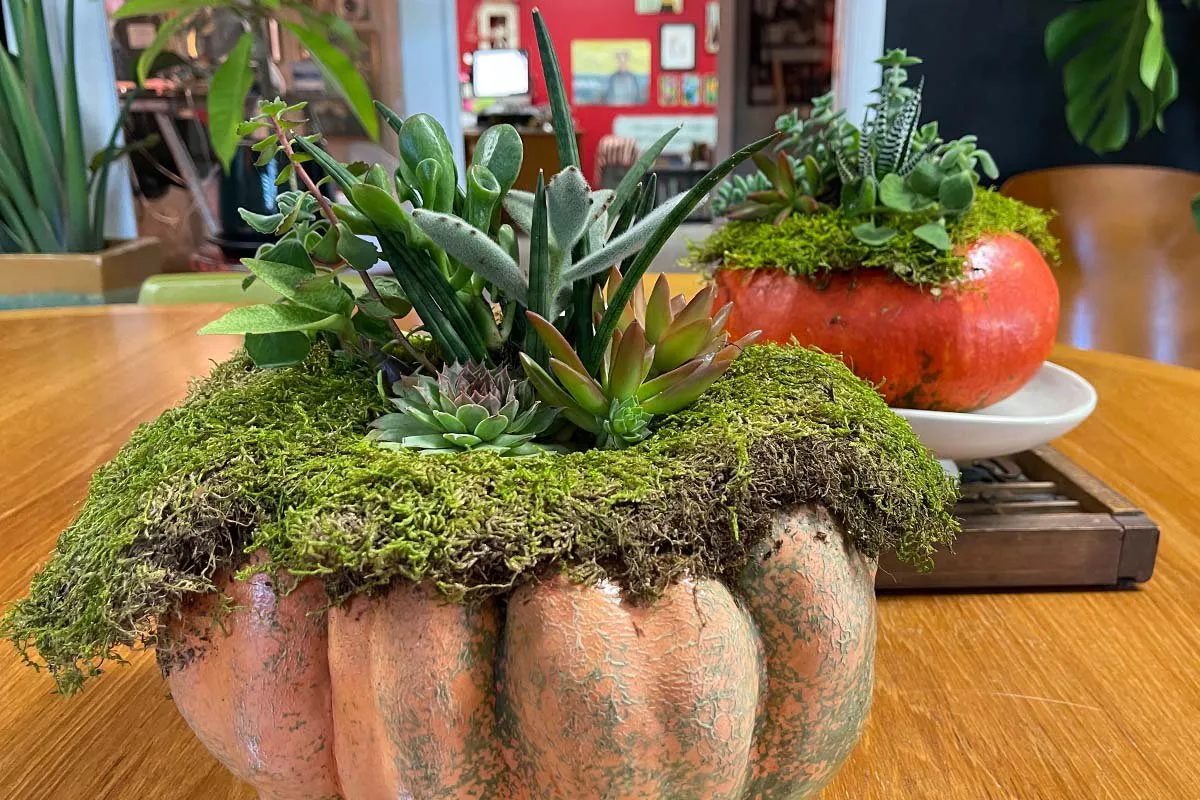
- And here’s the cool part: Since you didn’t cut into your pumpkin, your arrangement should last for a couple of months, if taken care of properly.
- The succulent roots will begin going into the moss, and eventually, as the pumpkin starts to soften, into the pumpkin itself.
But here’s the REALLY cool part…
Once your pumpkin starts to deteriorate, you can carefully cut off the top of the pumpkin that has the succulent arrangement, and plant into an appropriately-sized pot with soil. (Or if we were in a warmer climate, straight into the garden.) Isn’t that wonderful?
The rest of your pumpkin goes into the compost pile. That’s the epitome of clean and green!
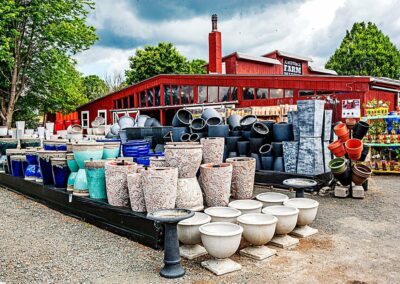
Come see us here at Reston Farm Garden Market and get inspired to make the most beautiful fall arrangements and decorations. We have pumpkins galore and lots of other pretty plants and pots. See you soon!

