Thinking about starting your own beautiful and environmentally-friendly rain garden? Well, you’ll be happy to know that building a rain garden can be an easy, one-day project—even for beginners.
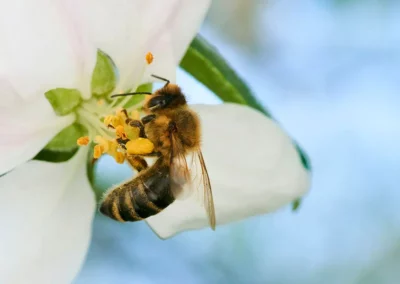
Rain gardening has many benefits. It can absorb runoff pollutants, save you money on water and lawn maintenance, and provide a place for native wildlife to thrive.
Hearing all of the benefits of rain gardening, how do you begin to start building your own?
Starting a project like this may seem intimidating with lots of considerations. Where should you start digging? How deep should your rain garden be? What should you plant in your garden? You definitely don’t want to start digging up your lawn without having a clear vision. Don’t worry…
You can start creating your own rain garden in just a few easy steps…
- Choose the correct location
- Determine the depth of your garden
- Pick the perfect plants
Step One: Location, Location, Location
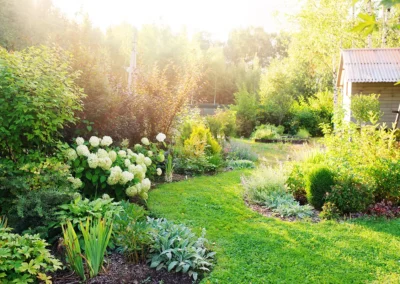
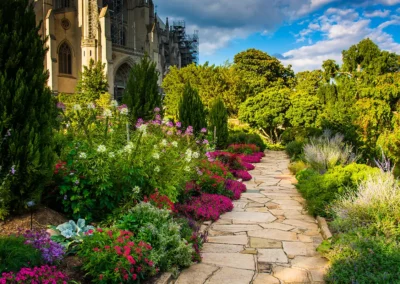
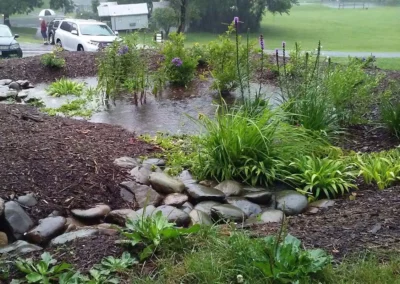
Rain gardens are, well, landscaped areas designed to collect rainfall and direct water to your garden’s plants. This style of gardening allows water to drain effectively so it doesn’t overwhelm your plants with excess water. Rain gardens are wonderful additions to your home’s landscaping.
Rain gardens should be built where water naturally pools or collects in your yard.
- Pay attention to these areas and find one (or a few) that collect at least one inch of water regularly.
- Choose a location at least 10 feet away from your home or any buildings nearby; if your garden is too close, water can back up to your foundation and erode soil, potentially causing damage to your home.
- Once your site is chosen, it’s time to move on to designing, digging out, and creating your new rain garden!
IMPORTANT: Before you begin digging though, check that your home utility lines and septic system are not in the area you intend to dig. This could disrupt the drainage of the basin and affect your home utilities. Always call 811 before you dig.
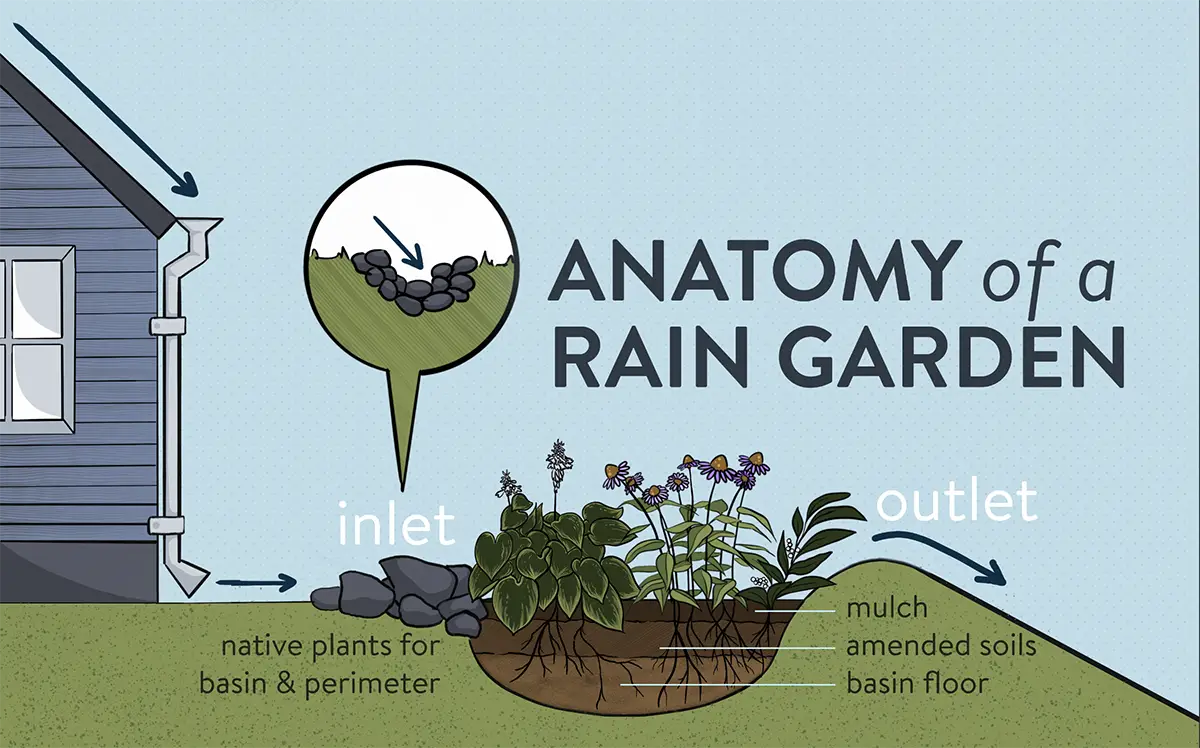
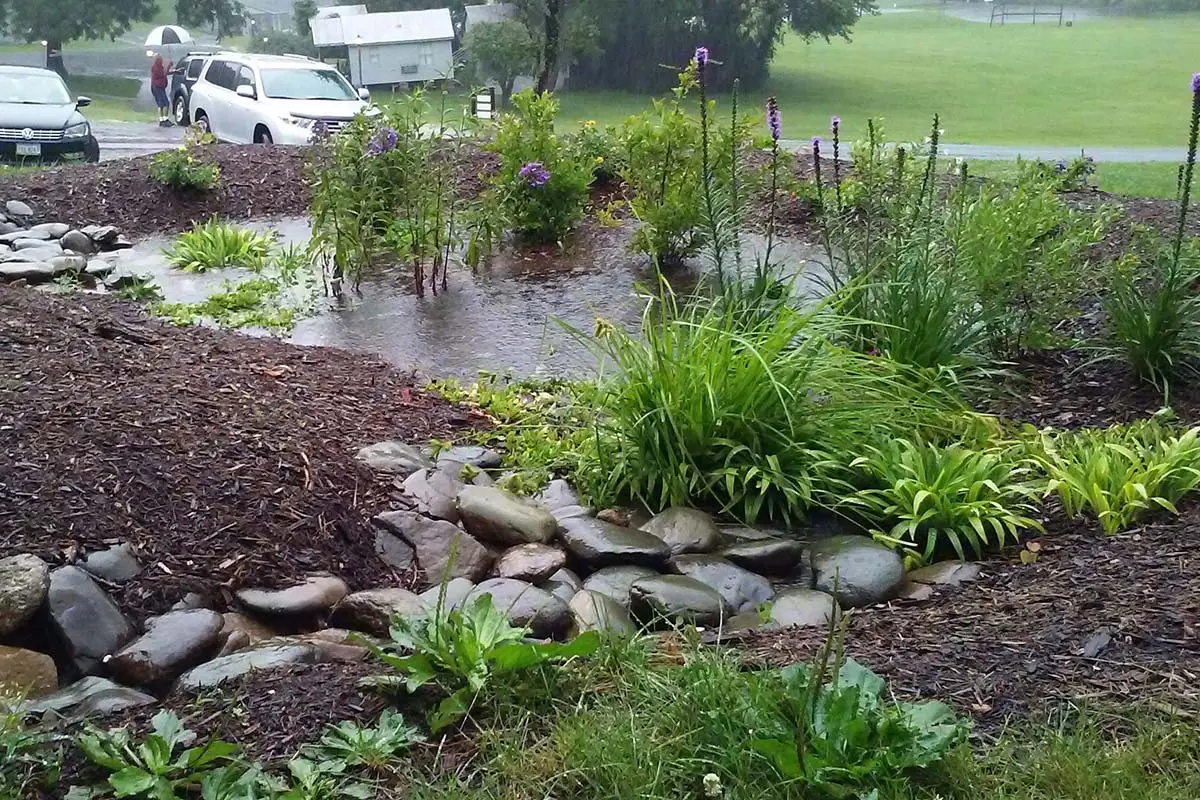
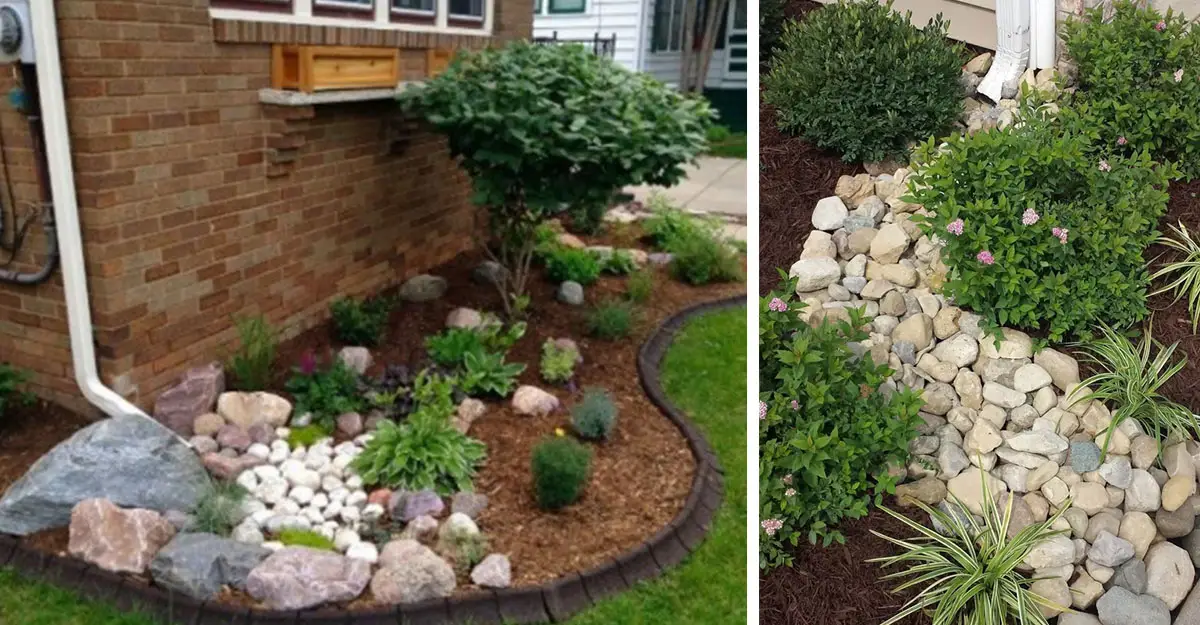
- Dig a shallow channel, starting at the downspout closest to your new rain garden site, directly to the rain garden itself.
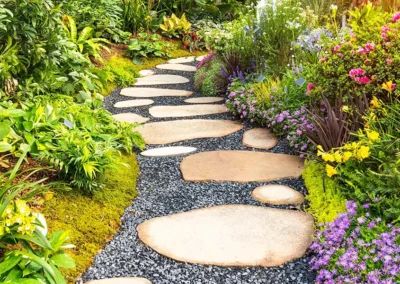
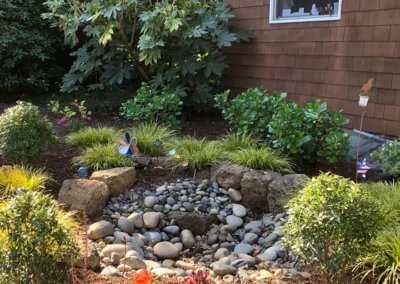
- Once you have made the channel as narrow or wide as you want, fill it with gravel or river rocks to help direct the water flow from your downspout.
- You can also opt to use PVC pipe, buried in the channel and then covered with gravel or rocks, if your garden is more than 30 feet from your water source.
Step Two: Better Start Digging
A rain garden should drain within 24 hours of heavy rainfall.
- To test that your garden will drain, dig a hole in the garden area about the size of a coffee can and about six inches in depth.
- Fill this hole with water and see how quickly it takes to drain. If the hole drains within that 24-hour period, you should be ready to start!
- Dig the basin of your rain garden, making sure the deepest point is about 18 inches.
- Then, create an outlet on the opposite side from the channel you’ve created. This should help prevent water from washing your new plants out of your garden.
Step Three: Picking the Perfect Plants
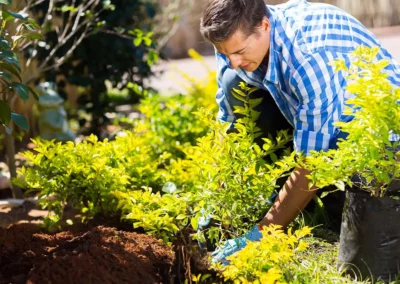
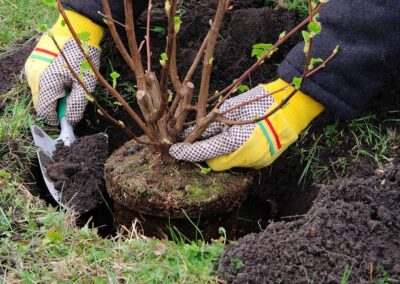
Finally, it’s time to add in your additional spots of color and texture by deciding which plants to include in your garden.
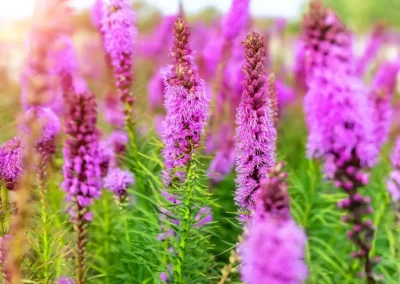
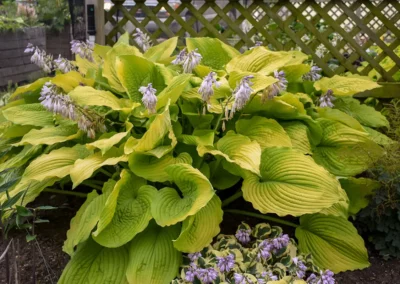
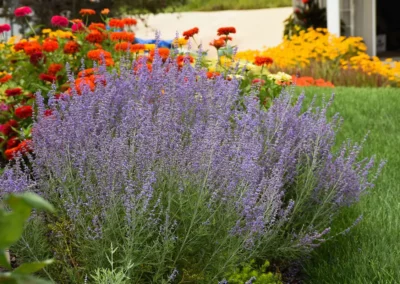
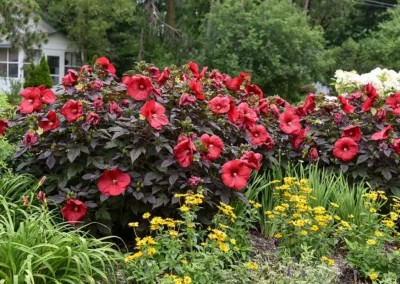
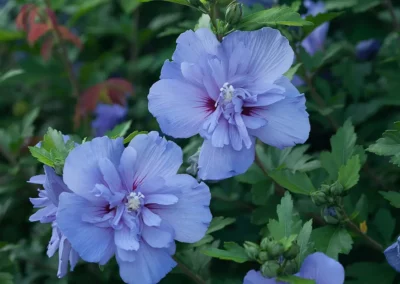
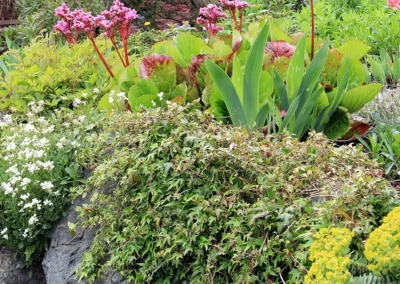
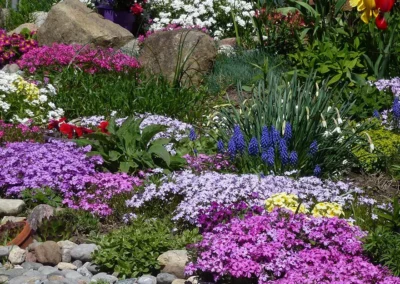
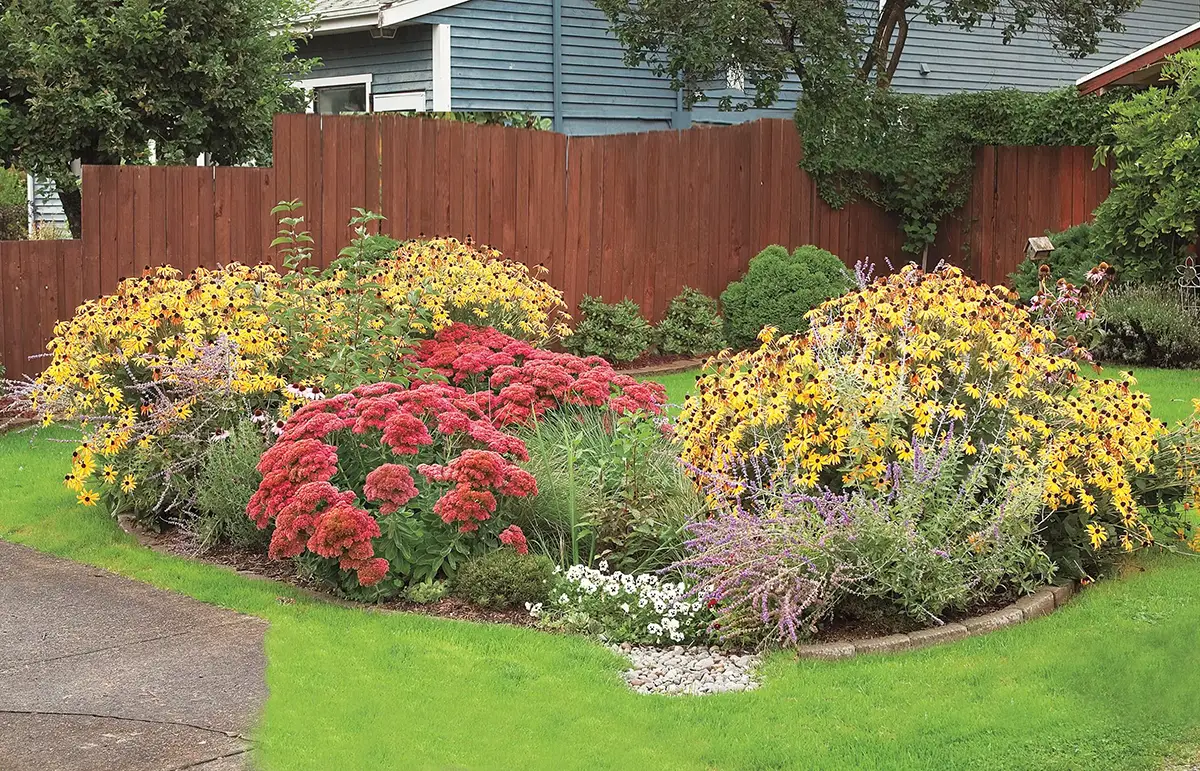
Usually, plants that have average-to-moist water requirements will thrive the best in the lowest parts, or the basin, of your rain garden. Plants that prefer average-to-dry water conditions are great choices for the higher berm edges.
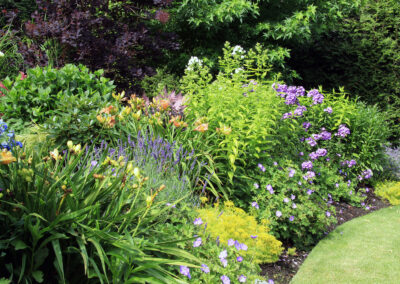
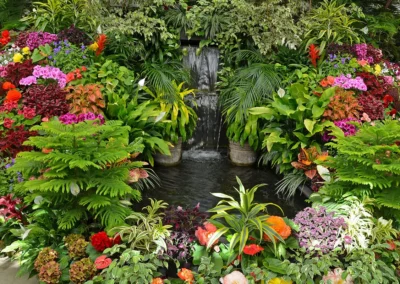
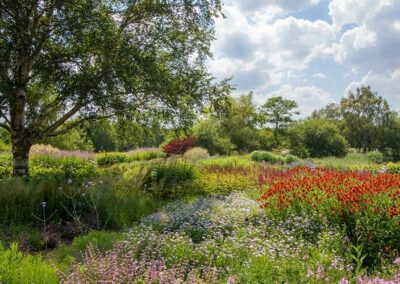
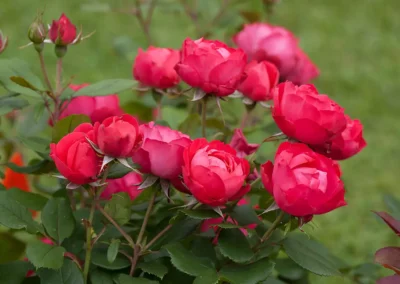
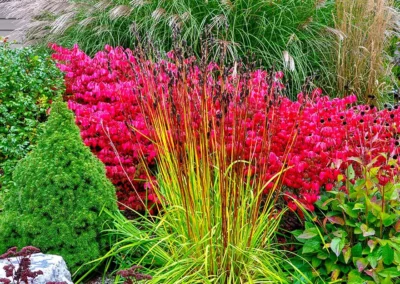
Use a mixture of different plants to heighten the visual appeal of your rain garden and provide year round interest.
Here at the Garden Market, we’re always available to consult with you on your choices and find plants that meet your personal preferences and growing conditions.
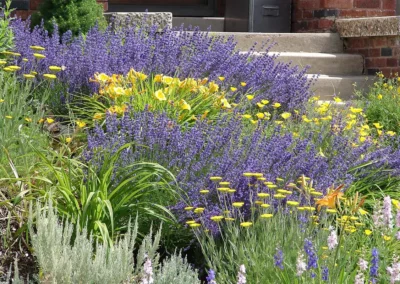
Some great choices for most rain gardens include…
- Asters
- Daylilies
- Sedum
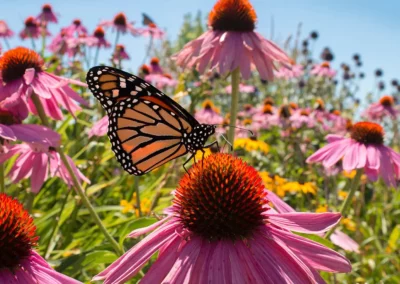
- Coneflower
- Sedge
Any plant with the correct moisture requirement can grow in your rain garden, but native Virginia plants with deep roots will allow your garden and the environment to thrive. Native plants are very well adapted to our climate fluctuations in Virginia and will survive both dry spells and flooding much better than non-natives.
See a full list of native plants suitable for our Virginia rain gardens (and downspout gardens!).
Tips for Your Rain Garden’s First Year
- Water your new garden during dry spells in the first year. If you choose to plant Virginia natives, these plants will be much more tolerant of drier and wetter conditions.
- Add an outlet on the lower end of the berm to help with overflowing. Young plants can’t handle a large volume of water flooding out their roots.
- Larger stones placed at the entrance of your garden can help prevent heavy rain from washing away your topsoil.
If you have any questions or want to learn more about building your own rain garden, your Reston Farm Garden Market is happy to help!

